Advice for applying polyurethane varnish.
Large projects differ in their care for small details in the finishes. When we think of details we think of harmony, elegance, and highlighting the natural beauty of the space we are going to cover. But the path to excellence in finishes cannot be walked without the help of polyurethane varnish.
It is an ideal material for any decorative coating due to its high hardness, resistance, and strong adhesion properties, which makes it handle friction, abrasion and the passage of time very well. In other words, we will achieve a durable, resistant finish with a natural appearance. But what are thepolyurethane varnishes??.
A two-component polyurethane varnish has the characteristic of having good performance and chemical resistances. It is made up of a component A that contains the polyol and a component B that contains the isocyanate. When we mix component B on A in the specified proportions, the polyurethane polymer is generated. So once mixed, all you have to do is apply it.

Preparation of the support to apply the polyurethane varnish
The first step to properly apply polyurethane varnish is to prepare the support, which must be clean and free of grease, dust, or dirt of any kind.
If we are facing a surface that has a previous varnish, it will be necessary to sand it and remove the entire previous layer. The removal of the previous coating can also be done by stripping, which involves removing the top layer of finish to be able to apply a new layer of varnish. Stripping is applied to surfaces where we want to completely remove the existing finish.
If the support is damaged and needs repair or joint sealing, it must be done before varnishing.
On wooden surfaces, before applying the varnish, it is recommended to seal the support with a wood pore filler and sand it. On cementitious surfaces, it is advisable to previously apply a pore-sealing primer to facilitate the union between the coating and the sealer varnish.
If we are dealing with a metal surface, the first step will be to ensure that it is completely clean and check that there are no remains of rust or dirt. If the support presents a paint in poor condition, the first thing will be to devastate the surface by sanding or stripping and then clean the surface. The next step will be to apply a metal primer and this way prepare the support where it is going to be varnished.
Application of polyurethane varnish for microcement
To apply a polyurethane varnish over a microcement coating it is advisable to first apply a pore-sealing primer such asMyCover. This product is a water-based acrylic resin that acts as a bonding bridge and guarantees a quality application.

The pore-sealing primer that facilitates the union between the microcement and the polyurethane varnish is applied in two coats. The second coat needs a drying time of 4 hours before applying the polyurethane.
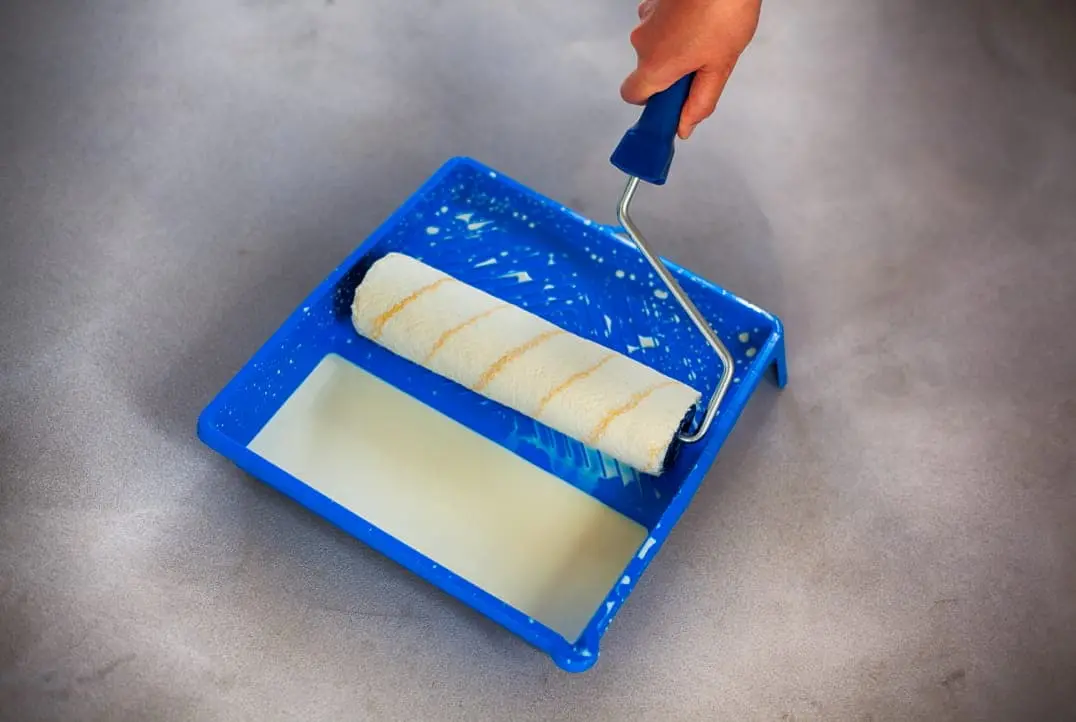
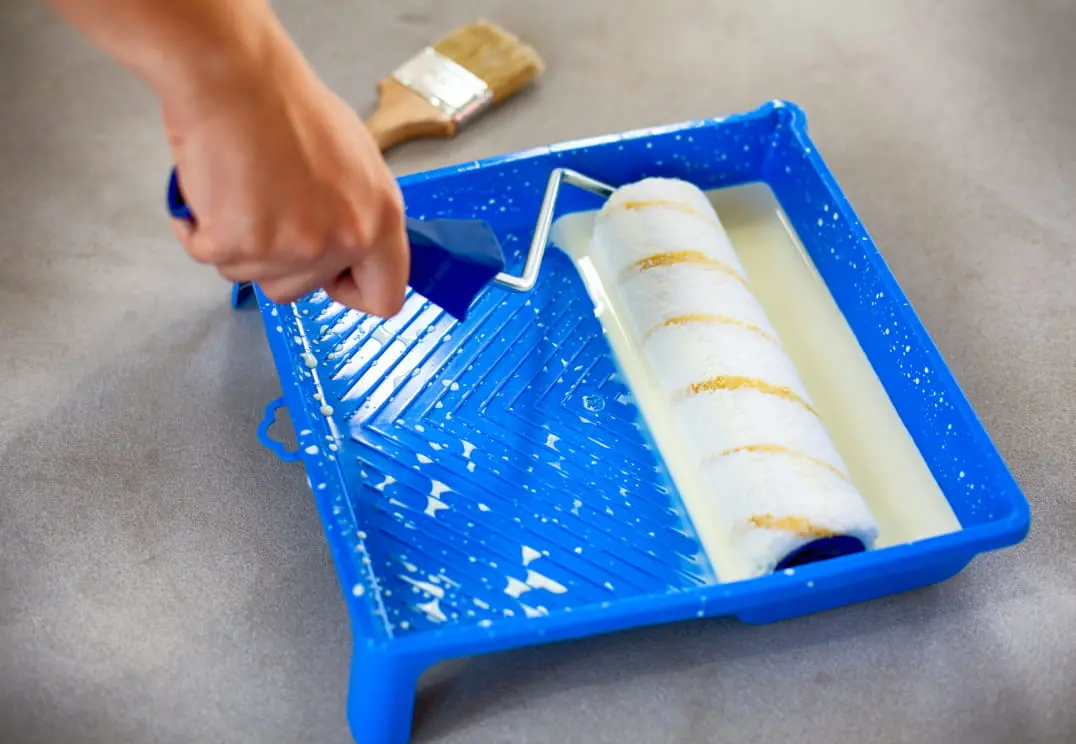
To work with polyurethane varnish it is necessary to have good ventilation and for the ambient temperature to range between 59 and 86°F. Its application allows a variety of tools ranging from the gun to the brush through the roller. With any of these three tools the surface can be covered to ensure a complete application of the material.
In the case of theMySealant 2K polyurethane varnishthe application is done in two coats and each layer needs a drying time that can go from 12 to 24 hours, depending on the environmental conditions of the place. Polyurethanes reach all their chemical properties between 7 and 14 days after applying the second layer.
Polyurethane varnish maintenance
The durability, high resistance and hardness offered by polyurethane varnishes facilitate their maintenance. You must let the polyurethane dry for at least a week before getting it wet and for cleaning the surface the most important thing is to avoid the use of aggressive products such as acid or bleach.
It is also necessary to avoid the use of detergent products and cover the surface before two weeks, as stains can appear or the coating can be whitened. Cleaning the varnished surface with a damp cloth and neutral soap is the best recipe to ensure optimal care.
And to avoid scratching it is basic to clean daily and thus eliminate the dust and grit that can remain on the surface due to daily activity. A good resource is to pass a slightly damp mop once a week to remove any dust residue.
Cleaning the surface with specific products, always respecting the amount recommended by the manufacturer, is a safe bet. Cleaners with a high descaling capacity must offer the guarantee that they will renew the protective layer and generate an extra overprotection without affecting the varnishing.
And in case stains occur, there is a rule to follow: the faster you act, the easier it is to remove them. In any case, the use of scourers must be avoided, since they can cause scratches, and a very well-known maxim must be followed: prevention is better than cure. The more care we take so that no dirt enters, we will have a better varnishing state.