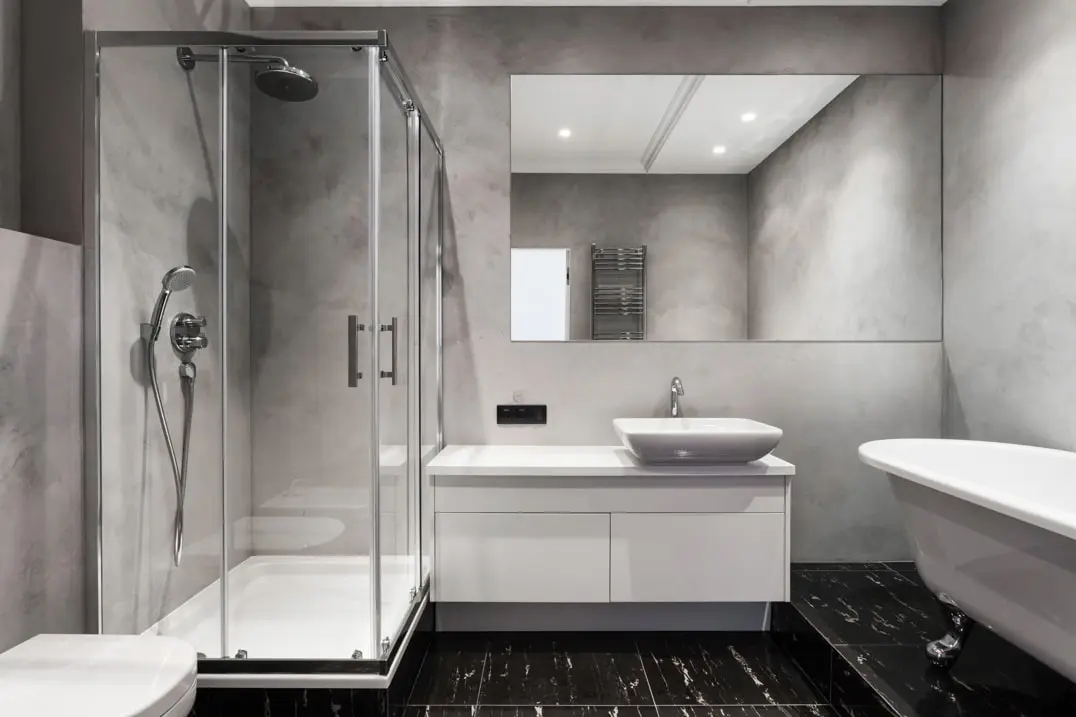
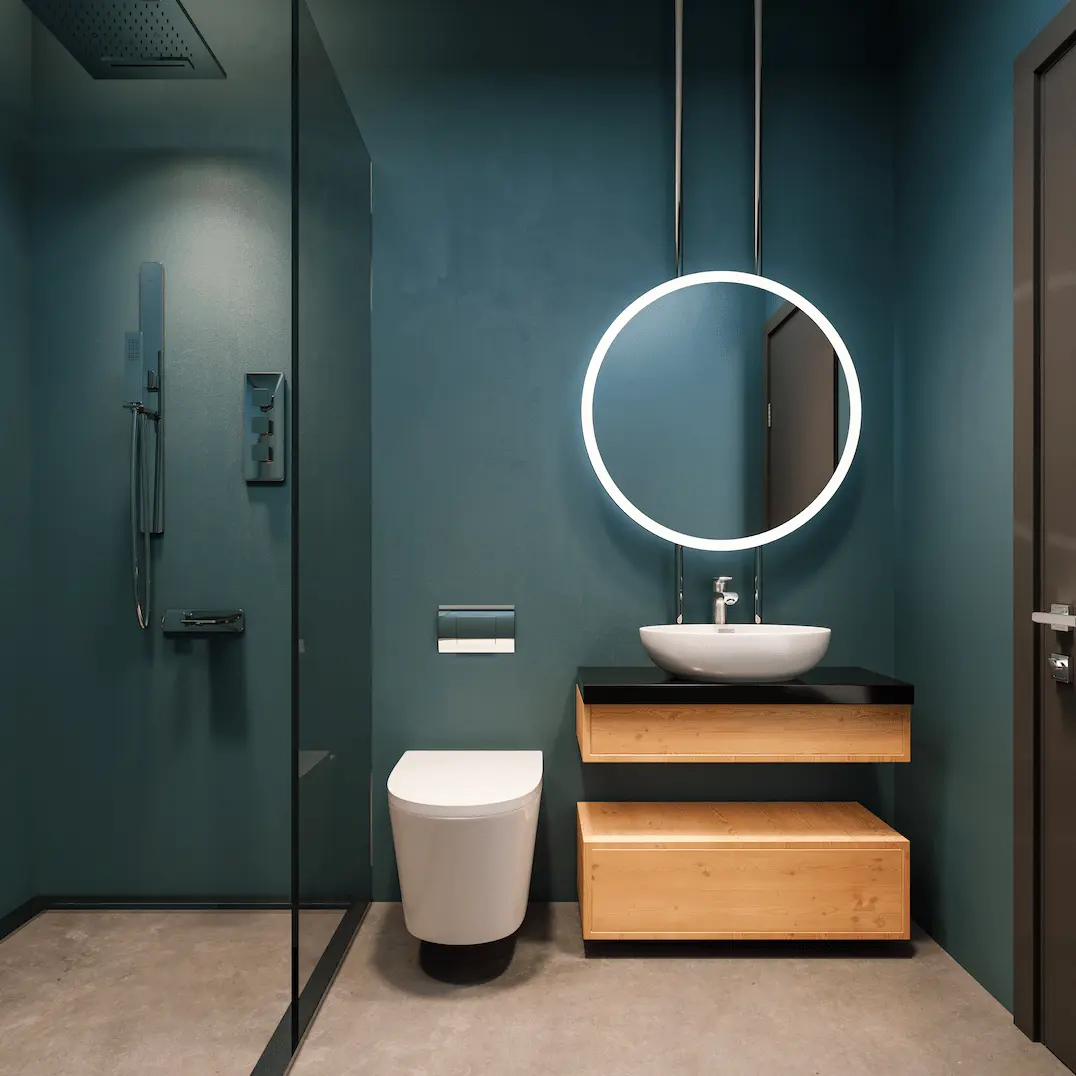
Microcement over tiles: advantages, tips and steps to follow
The passage of years does not pass in vain in our rooms. What once looked new, shiny and attractive, time has made it lose its color, yellow and have imperfections. It is in these cases when you must consider taking the first step towards the renovation of different areas and opt for a decorative reform that brings back life to your spaces.

One of the most suffered materials and where the passage of time can be noticeably perceived are the tiles in kitchens and bathrooms. Faced with this dilemma, two questions arise: do I prefer to renovate the tiles and return to the same point in a few years? Or, on the contrary, do I choose to cover them with another material that brings a better design to my surfaces and a long useful life? Take your time to think about it, however, interior design experts have it clear, the answer lies in trusting in the microcement.
This decorative coating has gained great popularity in recent years within the decoration scene. It presents the perfect and balanced fusion between design and functionality. A material of a scant 2-3 mm thickness, easy to work with, with a wide variability of finishes and results of prolonged life in perfect conditions.
In this article, we will address some of the most outstanding advantages of using microcement over old tiles, as well as give you some tips and explain the steps to follow for its application, in such a way that imperfections do not appear in the future.
Advantages to keep in mind if you use microcement over tiles
We have already mentioned some of its qualities, but now we will develop each one of them so that, in this way, you know first-hand why microcement has gained so much popularity among interior design professionals.
With microcement forget about the works
It could be said that it is the virtue par excellence to opt for microcement over tiles. Its impressive adhesion and minimal weight make it the perfect material to be used on all kinds of supports and surfaces. Walls, floors, ceilings, stairs, swimming pools, and everything you can imagine. The material is applied directly on the tile surface, so it is not necessary to remove them, which avoids the long and complex construction process.
Application without reforms or rubble or other waste. You will save time and money, and you will get a durable surface with great ease.
El microcemento aporta firmeza y mayor resistencia
This decorative coating manages to give surfaces a high-performance resistance as microcement withstands all kinds of factors, both external and internal. You won't have to worry about stains, bumps or scratches. It also fantastically withstands wear due to pedestrian traffic and abrasion, as well as sudden temperature changes. Properties that make it the perfect material if what you are looking for is not having to do a remodel in the short term.
Microcement over tiles for non-slip and waterproof finishes
However, if we have to talk about one of its star resistances, the award goes to its waterproof character. Innately strengthens effectively against high environmental humidity and contact with water, a characteristic that makes it ideal to be used in bathrooms and kitchens.
This property can be enhanced if you also apply a varnish or sealant, which will make it completely waterproof as well as non-slip. Two fundamental characteristics when it comes to the coating of bathroom walls and floors, the shower or even the kitchen.
Easy maintenance and cleaning
Tired of having to constantly clean and renew your surfaces? With microcement, you'll take that weight off your shoulders as its resistant nature also helps it stay like new for much longer. Maintenance to keep it in optimal condition should be minimal. All you will need is water and household cleaning products to keep it shining.
In the case of grease stains or something similar, it will be as easy as getting a specific detergentlike the ones on our website. The effectiveness of MyCleaner is such that in a blink of an eye it will be clean.
Great customization using microcement on tiles
If you opt for the application of microcement over old tiles, you will be contributing to modernize your spaces through a product that offers a wide variety of finishes in both texture and color. Its decorative potential is such that you will have the possibility to give your kitchens or bathrooms a totally personalized aspect with an exclusive and quality design.
Continuous surface without joints, welcome uniformity
Tiles had their moment of glory in the past but, currently, compared to the emergence of other more innovative products like microcement, is when some disadvantages can be appreciated that should be taken into account. In this case, we are referring to the joints.
Microcement is a continuous material that offers us a uniform finish, unlike tiles. A property that stands out both aesthetically, for providing an infinite appearance finish, and functionally, by avoiding the accumulation of dust in the grooves and thereby facilitating cleaning.
Aspects to consider for a good installation of microcement on tiles
Before devoting yourself to the installation of microcement on tiles, a series of recommendations should be taken into account that will guarantee the correct functioning of the product, thus avoiding possible cracks and imperfections that could force a surface renovation.

Respect drying times
In the case of using a type of primer dedicated to non-absorbent surfaces, we will opt for our product MyPrimer 200. We must give great importance to the drying time once the surface is coated with microcement on tiles, between about 24 hours.
The instructions made on the product data sheet must be complied with, since if they are not duly complied with, there would be moisture between the coats and with it the mark of the tile joints. The most common failure when performing this type of installations that, following our advice, you can avoid it satisfactorily.
Before the second coat of microcement, prime the tiles
Once the 24 hours have been waited as a sufficient margin of time to have dried the first layer of microcement, it is recommended to the professional to apply another layer of primer before applying the second coat of microcement on the tiles. This will achieve greater stability of the surfaces and equalize the absorption levels between the coats of microcement.
Steps to follow in the application of microcement on tiles
At this point we will show you how to successfully install the microcement on tiles. Eight steps that must each be perfectly followed, since otherwise, this could lead to the appearance of defects on the future surface.
Read in detail the entire application process and bear in mind at all times the product data sheets, necessary to know the quantities and drying times that will make the installation successful.
1. Analyze the condition of the tiles
Before you take any step of the installation, you should check the status of the old tiles. If they have any imperfections such as cracks, fractures, or missing pieces, you cannot proceed in the same way as if the support were in perfect condition. The substrate must be repaired prior to the placement of the microcement.
2. Cleaning of the support
Once the base has been repaired, the tiles must be meticulously cleaned. They cannot present any type of particle that could affect the installation. Avoid the presence of dust, grease, or humidity. Once everything’s ready, you can move on to the next step.
3. Filling the tile joints with microcement
Once you've ensured everything is in order, you should then proceed with the application of microcement to fill the tile joints. Otherwise, if we skip this step, we would be removing the stability of the surface, as we would obtain a smooth wall or floor, but with unfilled spaces within them.
4. Priming of the tiles that will be covered with microcement
By this step, the surface will already be leveled and the joints perfectly filled. Only then can you proceed with the priming of the support. This is a vital step, as it will enhance the adherence of the microcement, leading to better anchoring and stability.
Depending on the surface to be coated, one type or another of bonding promoter will be used. If it's a non-absorbent support, we'll use MyPrimer 200. On the other hand, if the surface is absorbent, we must use MyPrimer 100, which will help regulate absorption.
It could be also the case of the support to be covered is slippery. We will need a bonding promoter like MyPrimer 300 that firmly secures the microcement to the support.
However, in the case of a material like tiles, which are generally found in areas with high humidity like bathrooms or kitchens, our two-component epoxy primer is ideal, MyPoxy. A product by which to block water vapor or moisture.
5. Apply the MyMesh fiberglass mesh in the first layer of microcement on tiles
At this point, the appropriate drying time should have passed as specified in the product data sheets. It will then be time to place the MyMesh fiberglass mesh on the tiles, prior to the application of the microcement. Its function? To prevent imperfections such as cracks or fissures in the future surface.
Once this is done, the next step will be, now indeed, the first hand of unpigmented preparation microcement and subsequently to sand the surface.
6. Application of second hand of preparation microcement
In this case, the second layer of base microcement pigmented with the chosen color to be shown on the walls or floor should be applied. Once applied, again, proceed to sand the microcement.
7. Two finishes of microcement on the tiles
After allowing adequate drying time following the application of the two layers of base microcement, proceed to apply two layers, but in this case of finish microcement. Depending on whether the renovation is being carried out on the floor or wall, one product or another should be used. MyWall, in the case of working with vertical surfaces, and MyFloor, if it is floors.
8. Sealing the microcement
The final step and one of the most essential. The microcement surface on the tiles should be protected with a varnish or sealant. This will make the coating shine with a brighter and more intense color, as well as provide it with better resistance properties that will make it more durable over time.
The ideal is to use two coats of MyCover, our water-based acrylic varnish and subsequently two more coats of our water-based polyurethane varnish, MySealant 2k. This way you will ensure the firmness of the surface and thus better quality results.

Price of installation of microcement over tiles
It's impossible to predict a specific base price for such decorative renovations. To get an estimate, it is advisable to get the help of a professional with experience in this field and who knows in-depth the necessary variables needed to estimate a budget. Factors such as the condition of the tile, the dimensions to cover, the price of the labour and the context in which the work is done, all this will influence the final price.
At MyRevest, we have experts who can help you calculate the price of a microcement renovation over tiles. If you need it, you just have to get in contact with us and we will help you with every detail.