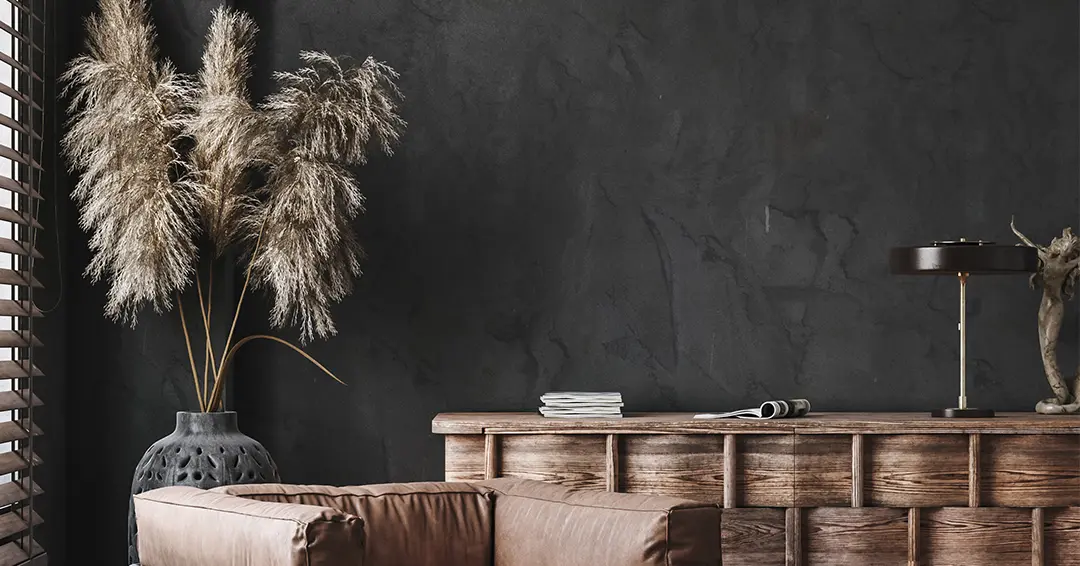
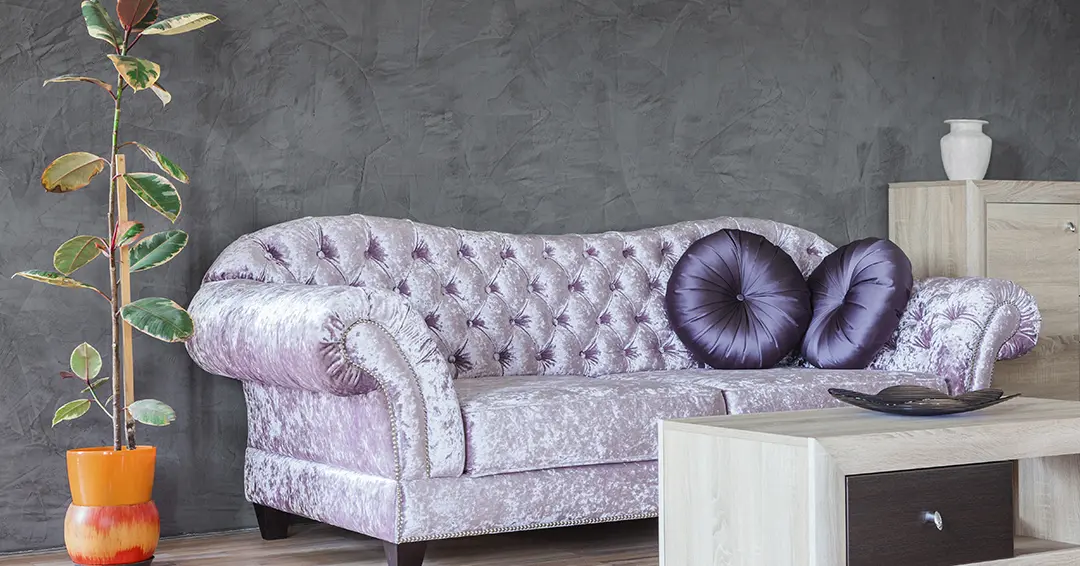
Microcement walls are a trend in decoration and more and more people are thinking of this continuous coating when considering a reform at home or in the office. Perhaps you know the decorative possibilities offered by the application of microcement on the floor , but what is the added value that a microcement coating on the wall contributes?.
If we talk about decoration, we have to talk about a material that creates a very elegant continuity effect, suitable for large and small surfaces. In addition, by being tinted with mineral pigments, it offers an infinite variety of colors.
At MyRevest we detail everything that the microcement on wallscan bring to an interior design project.
 Microcemento en paredes y las ventajas de su aplicación
A microcement wall is resistant to knocks, scratches and extremely easy to clean, due to the absence of joints. But there are even more reasons to apply this material on walls:
With all these advantages, the bathroom or kitchen walls are a good place to start applying microcement. Being waterproof, it is a perfect solution for these spaces, which are subject to humid environments and high temperatures.

In the case of bathrooms, you have to keep in mind that there will be a lot of corners and nooks that will make the job more complex than on a completely smooth wall. It's a space where the options offered by microcement go far beyond covering walls.
The shower trays, bathtubs or sinks can be covered without problems to create a common style and generate a greater feeling of spaciousness in this part of the house.
If the shower tray and the wall are made of different materials, it is advisable to place a strip of silicone to prevent water leaks. The microcement on the bathroom wall can also be used to cover old tiles without needing to remove the existing ones beforehand.
For the application of microcement on walls, the first step is to hire a professional in order to guarantee the durability of the material and the high decoration finishes.
Before starting the application process, you must ensure that the surface is clean of dust, greases, oil and without any dirt remains. It's important that the base is consolidated and in good planimetry conditions.
Once the surface is completely clean and with good planimetry, the first thing is to make sure that if it is a tiled surface, you have to grout before applying the primer.
The adhesion promoter or primer facilitates the bond between the existing support and the microcement, but you have to consider whether it is an absorbent or non-absorbent surface.
Depending on the type of support, a different primer will have to be applied. The MyRevest catalog includes MyPrimer 100 , the microment primer for absorbent surfaces, and MyPrimer 200 , the adhesion promoter for non-absorbent surfaces.
After consolidating the support where the microcement is to be applied, the next step is to place the fiberglass mesh to reinforce the microcement and prevent the appearance of cracks and fissures on the surface.
La malla aporta un plus de resistencia al revestimiento de microcemento y además absorbe las pequeñas tensiones que transmite el soporte.
Apply two coats of the preparation microcement MyBase over the fiberglass mesh. These two coats serve as support for the finishing microcement. The preparation microcement is perfect because it offers great mechanical resistance and guarantees strong adherence to the support.

Application of two layers of the finishing microcement MyWall with the color and texture that best suits the needs of the project. This microcement is of fine grain and becomes the best ally to achieve highly aesthetic wall covering.
Before applying a new layer, the previous one must be allowed to dry and a gentle sanding with 40 grit sandpaper must be carried out. This way possible imperfections are removed.
After 24 hours have elapsed since the application of the second layer of finishing microcement, it is time to start the coating sealing process. This process consists of applying two coats of a pore sealer primer such as MyCover and two coats of a sealer varnish like MySealant 2K.
The sealing of the microcement on the wall should be done once the coating has hardened and never before the coating has reached a moisture level lower than 5 percent.
It should be noted that higher temperatures reduce the product's lifespan, while lower ones lengthen it.
Microcement has become the fashionable decorative coating for architects, decorators, and interior designers. The boom of this material has resulted in a great variety of brands, products, and prices.
The price of microcement is subject to a wide range, depending on the following factors:
To achieve walls with a more natural finish, MyWall Microcement is the perfect solution. With its application, the professional creates a coating with a watermark effect ideal for the most exquisite decorative environments.
MyWall is equipped with a fine grain that allows to achieve a smooth and silky surface. The best ally to create a resistant and sophisticated coating.
If you have a renovation or interior design project in mind and you want to know the price of coating a wall with microcement, contact us and you will receive technical and commercial advice.